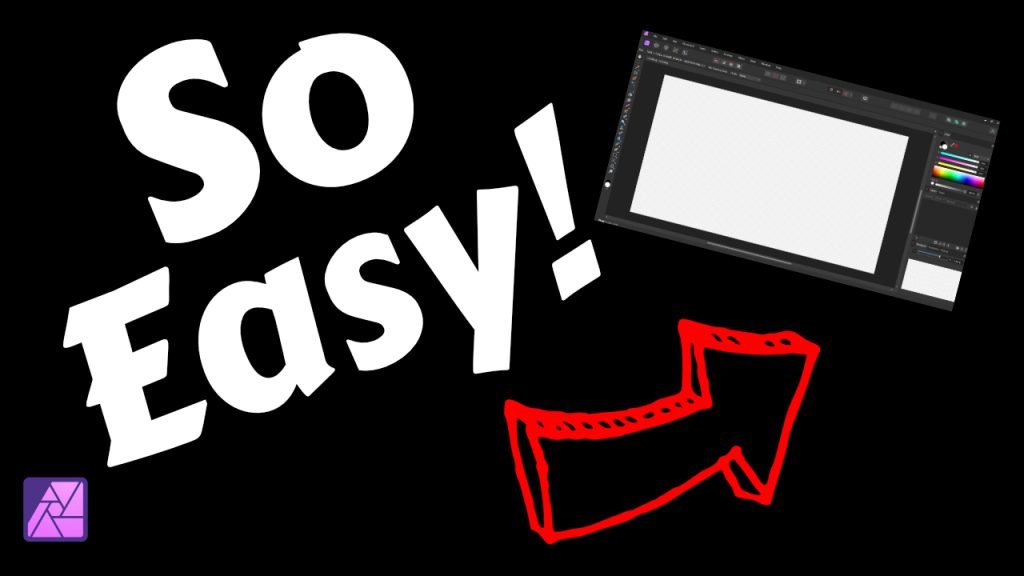
Creating an Eye-Catching YouTube Thumbnail in Affinity Photo
Hello, creators! In this blog, we’re going to delve into the process of creating a simple yet striking YouTube thumbnail using Affinity Photo, following the steps I previously demonstrated in a video tutorial.
- Starting with a Preset: We’ll begin by opening Affinity Photo and selecting a preset for a YouTube thumbnail, which we set up in an earlier session.
- Capturing a Screenshot: Using the snipping tool in Windows 11 (Win + Shift + S), capture a screenshot of the desired area. This will be a crucial component of our thumbnail.
- Creating a Pixel Layer: In Affinity Photo, create a new pixel layer and fill it with black using the paint bucket tool. This black background will make our elements pop.
- Pasting the Screenshot: Paste the screenshot onto the canvas. You might notice it appears too large, but it can be resized easily using the navigator or by zooming out (Ctrl + mouse wheel) and adjusting the corners.
- Adding an Angle: Tilt the screenshot slightly for a dynamic effect by clicking and dragging when the cursor shows two curved arrows.
- Incorporating an Arrow Graphic: Instead of using the basic arrow tool in Affinity Photo, I prefer using a graphic from Creative Fabrica. For this tutorial, I chose a specific arrow design (Arrow number 14) and adjusted its size and position on the thumbnail.
- Color Customization: The arrow graphic, initially in black, is changed to a vibrant red using the FX tool and the color overlay feature. This step ensures the arrow stands out against the black background.
- Flipping the Arrow: To make the arrow point upwards, I used the transform option to flip it horizontally and then manually adjusted its angle.
- Adding the Affinity Photo 2 Logo: The logo is added to the lower left corner of the thumbnail. This can be done by placing an image file from your computer.
- Inserting Text: Using the text tool, I added the word “Easy!” in white for contrast. This text was then customized in terms of font and positioning to suit the overall design.
- Exporting the Thumbnail: Finally, the thumbnail is exported as a high-quality JPEG, ready to be uploaded to YouTube.
This step-by-step guide shows how to effectively use Affinity Photo to create a YouTube thumbnail that is both professional and attention-grabbing. Remember, the key is to blend simplicity with visual appeal to attract viewers.
Thanks for following along with this tutorial. If you found it helpful, please like and subscribe for more content like this. See you in the next tutorial!


